Managing your Site
As a Site Administrator, you possess granular controls to effectively manage your firm's tenancy, referred to as a "site" throughout this guide. This guide will explore the organisational structure of your site, focusing on Clients and Projects, and provide detailed instructions on managing access via Users and Roles using our advanced Role Based Access Control (RBAC) system.
These are four main areas that you will need to be across to administer and govern your Site.
- Clients - these house your illustrations through nested Projects.
- Projects - these directly hold illustrations within clients and act as distinct categories for your illustrations.
- Roles - these are assigned to Users using Enterprise Lens' robust RBAC system, and can be localised to certain Clients or across all Clients.
- Users - these are people from your organisation who can be added to individual or all Clients.
| TABLE OF CONTENTS | |
|---|---|
| 1. Clients | 2. Projects |
| 3. Roles | 4. Users |
1. Clients
1.1 Overview
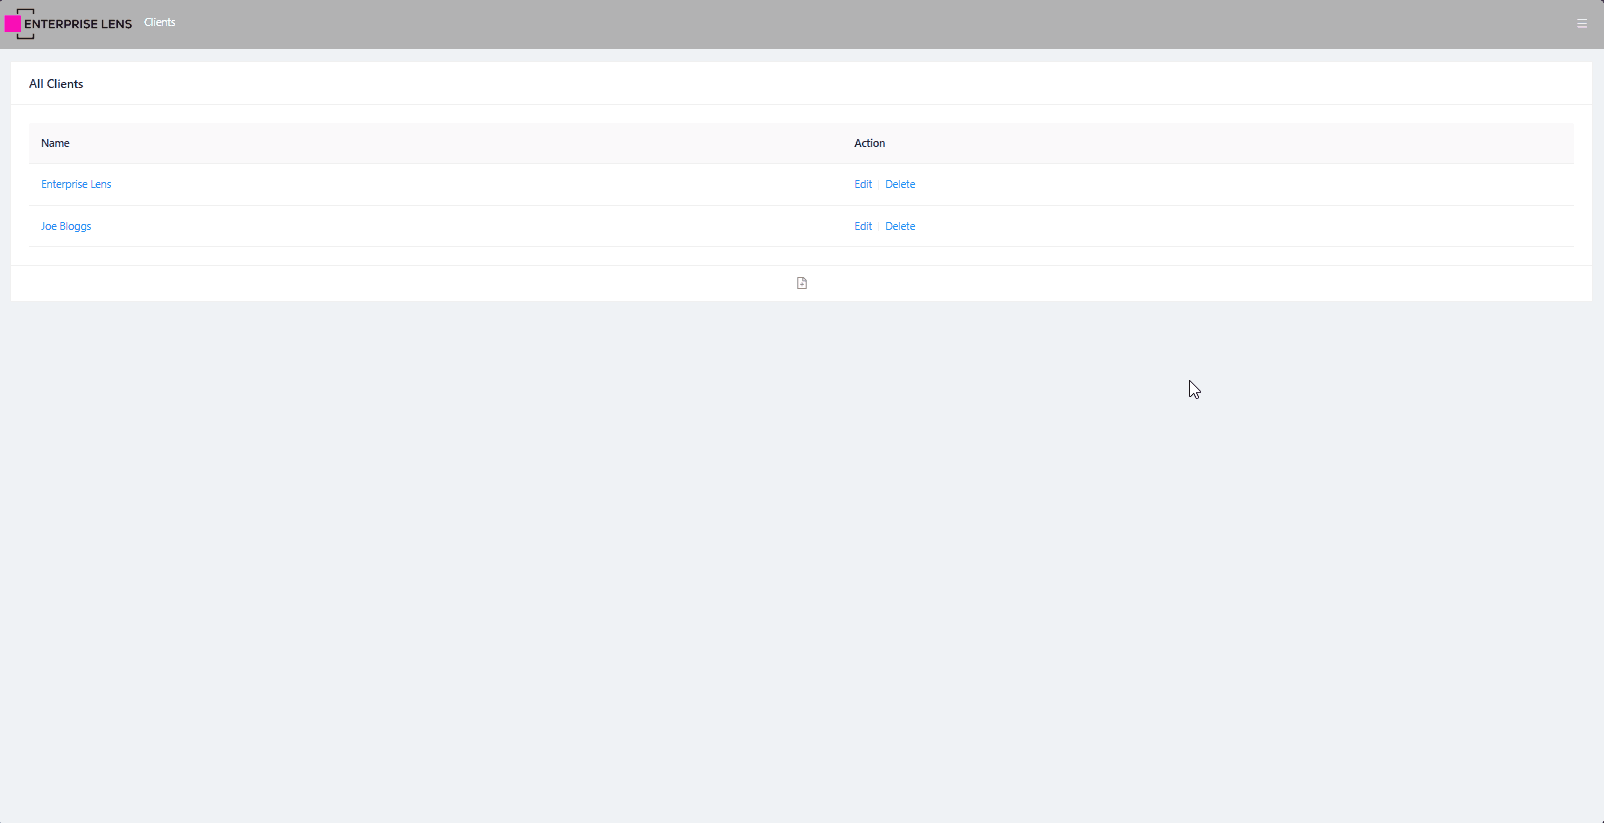
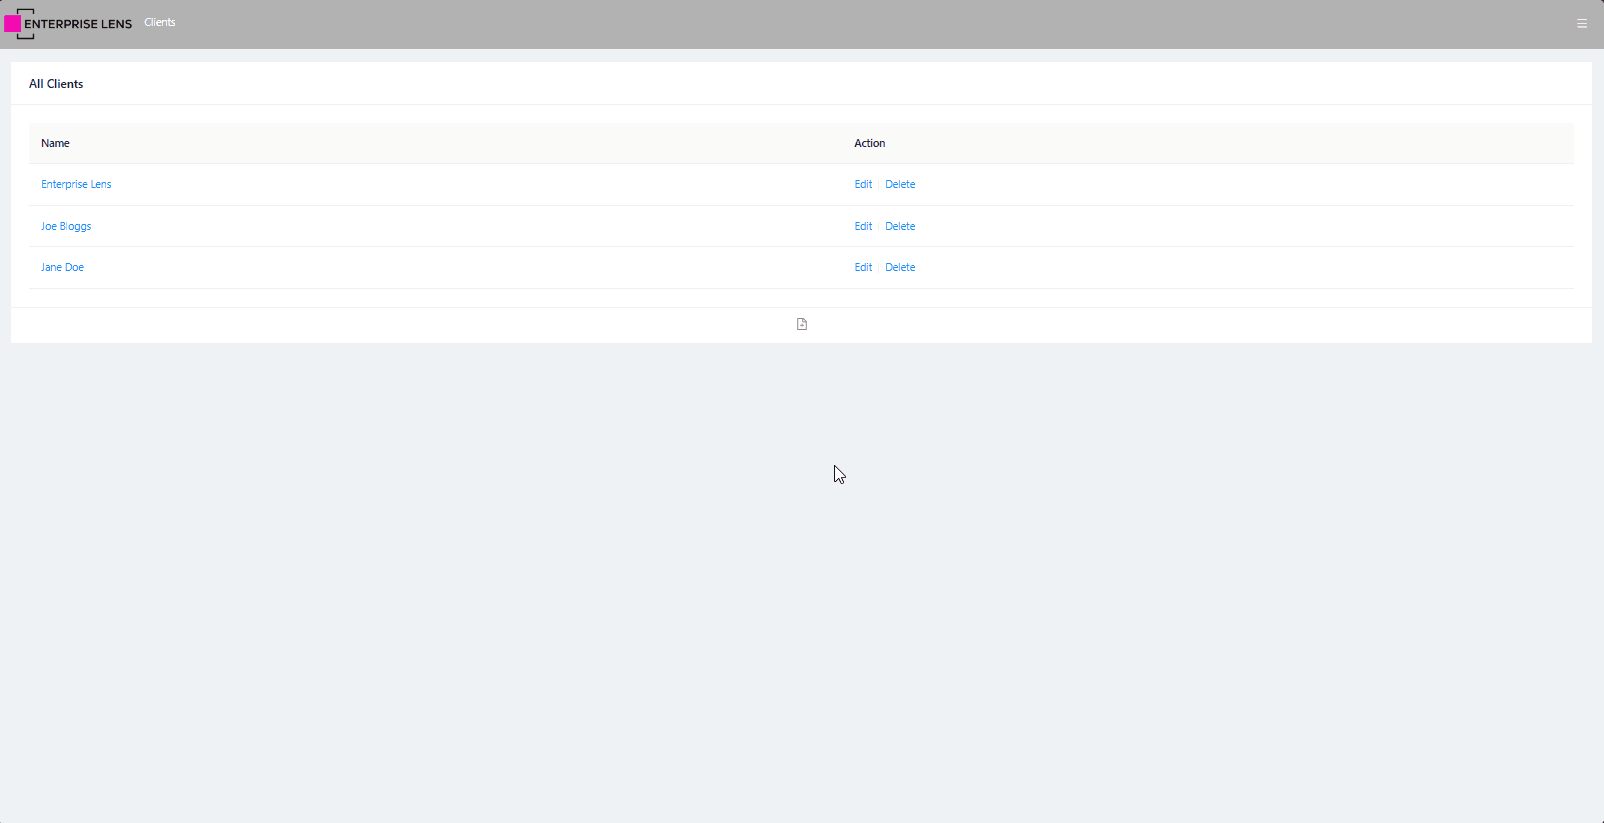
When you log into Enterprise Lens, you will be immediately greeted with a list of all Clients.
- Clients represent people, teams, or any other functional unit which store Projects.
- Illustrations are stored in Projects, which belong to Clients. This will be explained in the next section.

The Enterprise Lens client is available by default, containing useful resources for you to explore and learn more about the product.
1.2 Creating a Client
To create your own Client, locate the add button positioned below the list of Clients.
- Once clicked, the button will prompt for a Name which will be used as your Client's name.
Below is an interactive image showing this process.
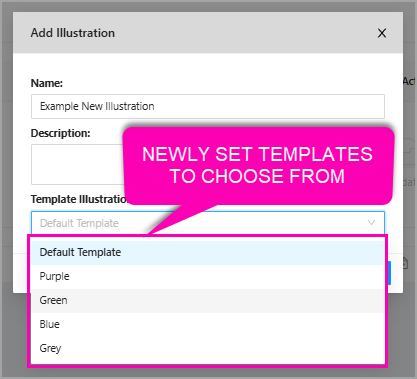
1.3 Adding Templates
In order to make illustration creation easier, as a Site Administrator you are able to specify Templates for Clients. Here are the instructions on how to achieve this:
-
Open a Client (i.e.
Joe Bloggs). -
On the left hand side, click the Edit icon (pencil), to open up Client options.
-
Click on Template Client and set it to a Client which contains Templates.
Default TemplatesThe Enterprise Lens Client has default templates which we recommend firms to use when they are first using the software.
-
Click on Template Project and select the Project within the Client, that contains the Templates.
TemplatesFor the default Enterprise Lens Client, this is located in the Templates Project.
Below is an interactive image which guides you through the same steps.

When creating a new illustration, you will see new templates to choose from as pictured below.
2. Projects
Projects are categories for your illustrations to reside in, and are created under specific Clients.
- When opening a Client, you see its applicable Projects.
- To create a project, click the add button below the Projects list, and specify a new name for your Project.
Below is an interactive image to help visualise the process.
Projects must be created to allow illustrations to be made and saved. You cannot save an illustration in a Client without first having Projects!
3. Roles
In order to understand what options and pages are available to users, we need to visit the Roles page. To do this, follow these instructions:
- Click the hamburger menu located on the top right of the page (three horizontal lines) in the navigation bar.
- Mousing over the Security option.
- Click Roles which will appear to the left of the Security option.
Here is a step-by-step interactive image to locating this page.
You will notice there are several roles for you, provided below is a comparison of what each role does.
| Role | Description | Key Permissions | Use Case |
|---|---|---|---|
| Administrator | Full control over the site. STRICTLY Limited to Enterprise Lens Personnel. | Manage all clients, projects, illustrations, user roles, settings, and export/import data. | Ideal for super admins managing all aspects of the system. |
| Illustrator | Can create, edit, and save illustrations. | Create/edit illustrations, undo/redo actions, and manage illustration configurations and types. | Suitable for designers working on illustrations. |
| Viewer | Can view illustrations for assigned clients. | View clients, projects, and illustrations. | Best for users who only need to access and view data. |
| Editor Advanced | Can edit/save data and sidebars but cannot create new illustrations. Includes Excel functionality. | Manage/edit illustrations, import/export Excel data, and work on child boxes. | Useful for advanced editors handling data updates and imports. |
| Site Administrator | Can manage clients, assign access, and handle related settings. | Add/delete/edit clients, assign permissions, and manage projects and illustrations. | Meant for administrators managing client access and settings. |
In the next sections, we will explain how to assign roles to existing and new users.
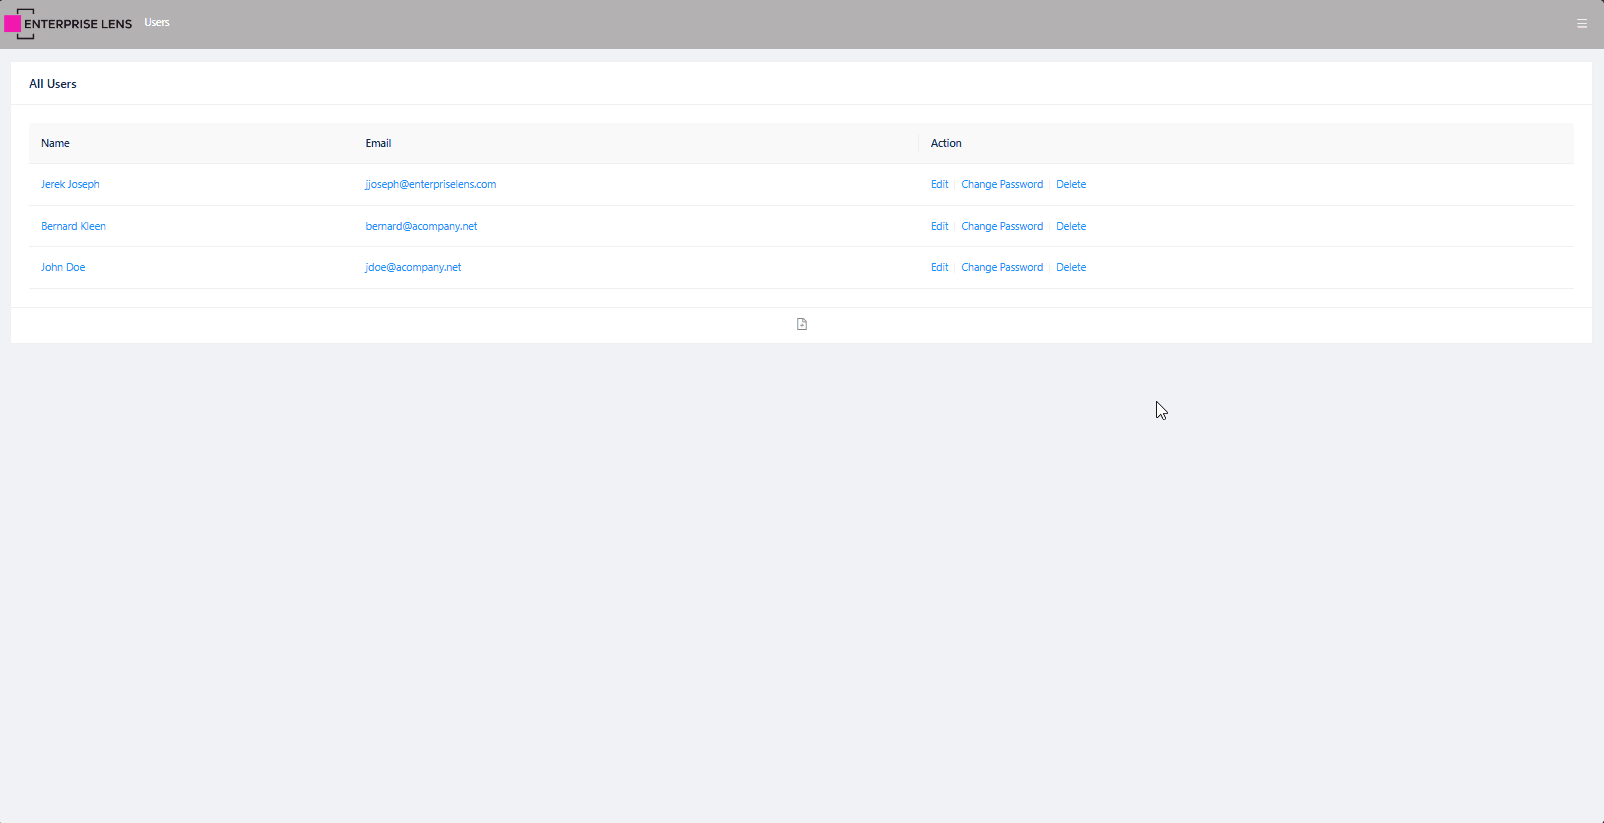
4. Users
To provide access to your Site, you will need to create Users and assign them roles. Enterprise Lens is built in mind to provide you with the greatest level of control, this means how you create and assign users and roles is at your discretion in order to fit organisational needs.
To access the Users page, follow these instructions:
- Click the hamburger menu located on the top right of the page (three horizontal lines) in the navigation bar.
- Mousing over the Security option.
- Click Users which will appear to the left of the Security option.
Here is a step-by-step interactive image to locating this page.
4.1 Creating and Updating Users
Similar to adding a Client or Project, there is an add button located below the Users list which allows you to create a new user. When clicked you will be asked to provide the following details (note Email and Password are case sensitive):
- Name
- Email - used to log in to Enterprise Lens.
- Password - used to log in to Enterprise Lens.
Clicking Edit on any existing user will allow you to update their Name and Email, with the Change Password function separate to prevent accidental password changes.
Most users do not change their default password, posing a severe security risk for modern organisations. There are many password generators available on the internet - you could look to leverage one of those.
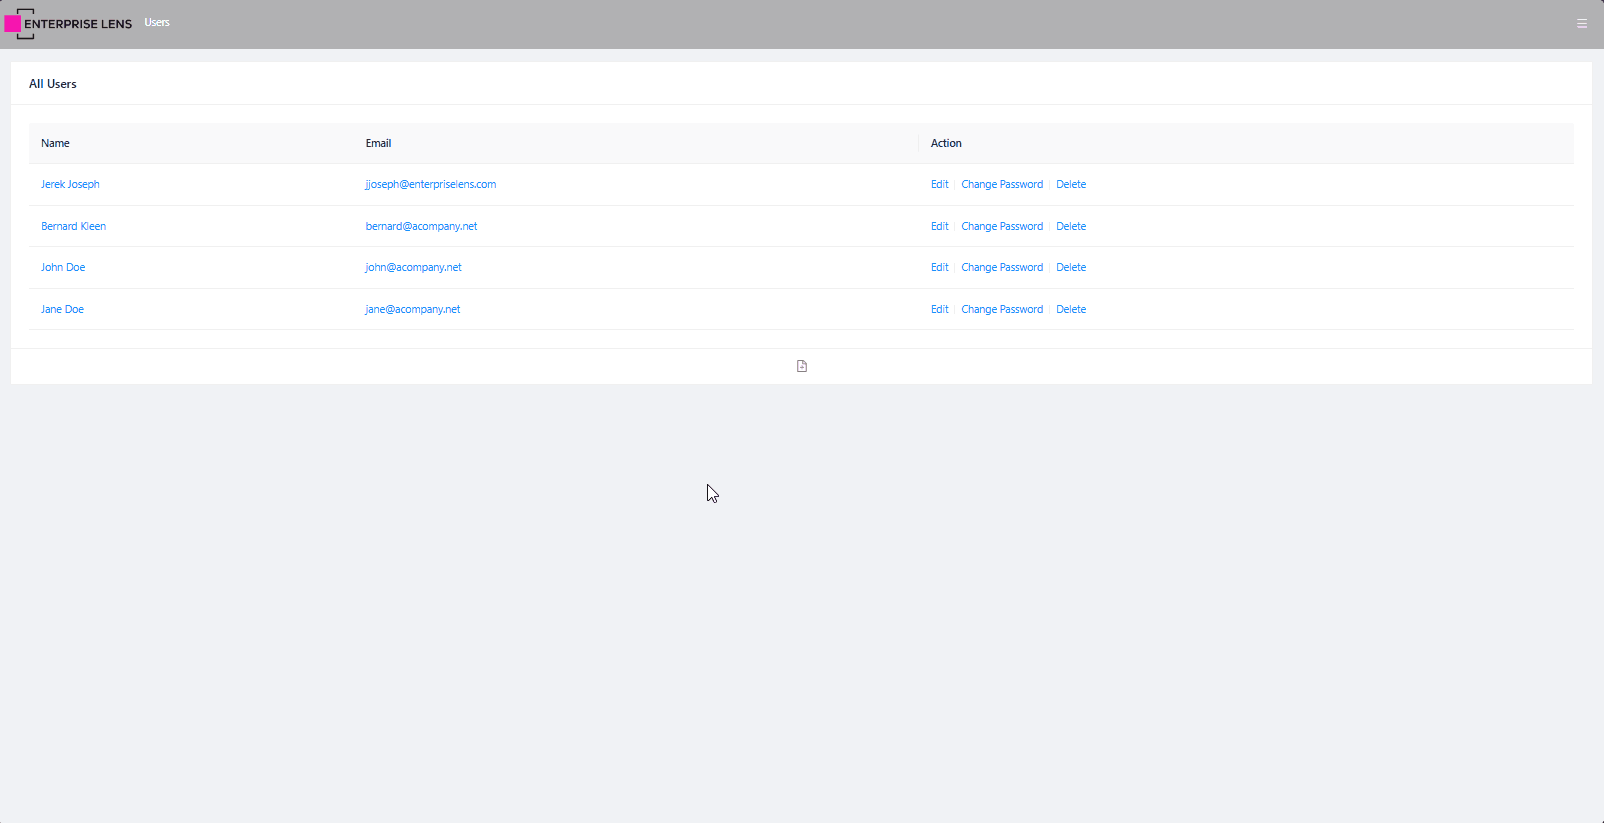
Below is an interactive image that shows how to create a new user by clicking the add button in the Users list.
Here Jane Doe's user is created, with the email jane@acompany.net and the password set being her way to log in.
4.2 Adding Roles to Users
Now that we have covered creating users, the last step is to assign roles.
- By default, a user has no access until granted a role by a site administrator.
- Roles can be assigned to users on either specific clients or across all clients.
- A user can contain multiple roles across the same, different, or all clients.
To do this, click on a User within the Users page and click the add button at the bottom of the Associated Abilities list. Below is an example of how to do this.
As shown above, Jane Doe is given the Illustrator role to create, edit, and update illustrations within the Jane Doe Client.
When you go to add a role, by default the option is to add All roles across All Clients. It's important to select a role and **specify a client if **
applicable.
By default, not selecting a client means the user has the selected role across all Clients.