Importing and Exporting
A vital part of creating illustrations is being able to easy import and manipulate your data. Right out of the box, Enterprise Lens supports Illustrators loading and editing their data on the fly with in-built Microsoft Excel integration.
| TABLE OF CONTENTS | |
|---|---|
| 1. Getting started | 2. Import/Export Child Boxes |
| 3. Import/Export Canvases | 4. Import/Export to Excel |
1. Getting started
In this guide, we will showcase three ways Enterprise Lens has integrated Excel for effortless data manipulation.
- Import/Export Child Boxes - a way to edit the children of a box with one Excel workbook.
- Import/Export Canvases to Excel - a way to edit specific sections of an illustration with one Excel workbook.
- Import/Export to Excel - a way to edit the whole illustration with one Excel workbook.
These three methods will be leveraged to finish the illustration below.
1.1. Select the Sample Illustration
To start, let's navigate to the Training illustration we will use for this guide.
- Log onto Enterprise Lens.
- Click on the Enterprise Lens folder.
- Click on Training folder.
- Finally, click on the Importing and Exporting Illustration.
Included below is an interactive image to guide you step by step.
2. Import/Export Child Boxes
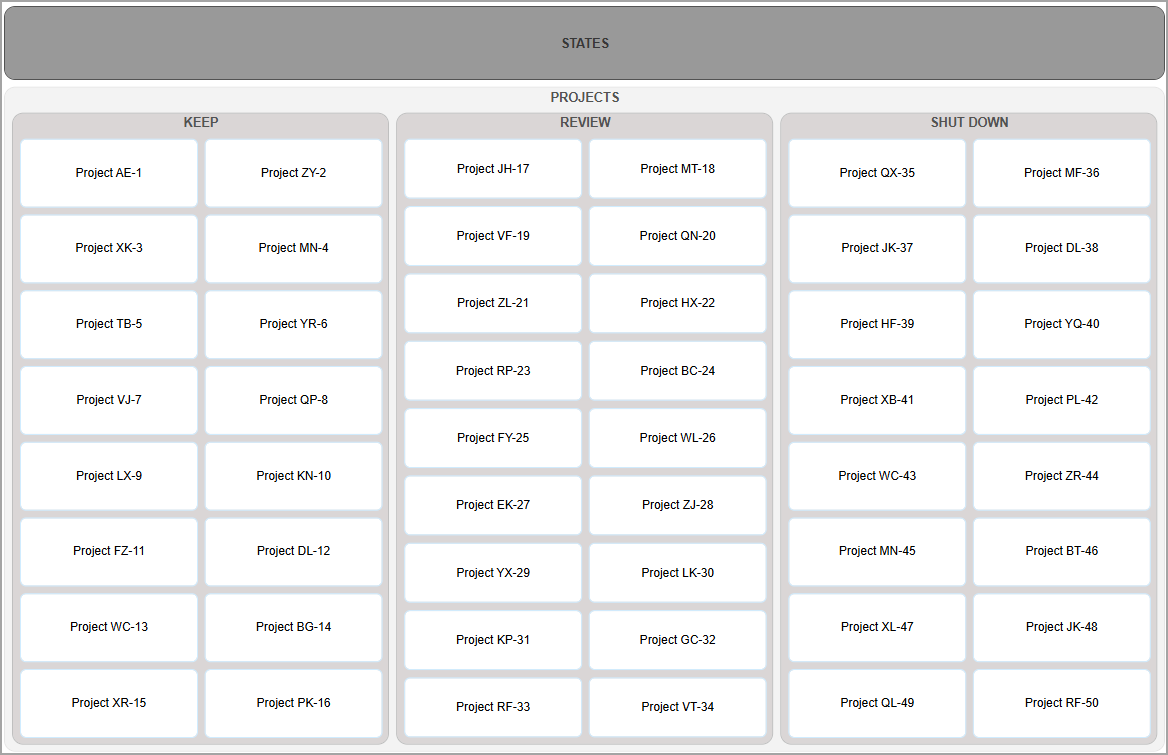
Immediately, you will notice that the illustration has no boxes under States.
The relationship between States and Projects is already made, however you are required to create a box containing each State in the States box. To do this, we will be using the Export and Import Child Boxes feature.
This method is fast, as it allows you to create the boxes and box names together as opposed to adding boxes individually and naming them after.
2.1 Export Child Boxes
First we will export the empty States box to Excel, this way we can add boxes to the sheet and
-
Open the "States" Box: Click the box labeled States at the top.
-
Export the File
- In the menu, click Export Child Boxes under the Box Details header. This will bring up a new menu.
- In the new menu, click Export to download the STATES.xlsx file.
-
Edit the File
- Open STATES.xlsx.
- In Column E, titled Box Name, enter ACT in cell E3.
- Below ACT, add each state (
NSW, NT, QLD, TAS, VIC, WA) per cell.
-
Save your file then close it.
ShortcutsYou can do
Control + Son Windows orCommand + Son macOS to save your file quickly.
You will need to remain in them for the next step.
Below is an interactive image to guide you through this process.

2.2 Import Child Boxes
Now that you have finished exporting and creating the State boxes, we need to import them back into your illustration.
- Remain in the States box menu.
- Click the Import Child Boxes button, located furthest right of the Box details header on the top of the menu.
- Click on the box labelled Click or drag an Excel file to this area to upload.
- Select STATES.xlsx from your files to upload.
- Click the Import button at the bottom of the menu.
- Click OK exit the menu and import your new boxes.
Here is an interactive image to demonstrate these steps.
With that, you have successfully imported new boxes through Exporting and Importing Child Boxes, congratulations!
The association between States and Projects was pre-created for this illustration, and serves as confirmation for you to check you have created the boxes correctly and without typos.
If any box is misspelt, there will be no highlighted projects when you hover over it.
3. Import/Export Canvases
Sometimes, you will need to export the children of multiple boxes. These boxes will usually have a box that holds them all, otherwise known as a Parent box.
- In this example, it would be the Projects box.
Through importing and exporting a canvas, we are going to rename all projects from 1 to 50.
3.1. Create a Canvas
First, we need to create a canvas for all the children that sit in the Projects box. Follow the steps below to achieve this.
- Click on the Projects box.
- On the left hand side of the new menu, click the box next to Is Canvas.
- Select True from the dropdown.
- Click OK at the bottom of the menu to save your changes.
Here is an interactive image that walks you through these steps.

3.2. Export a Canvas
From here, we need to export the canvas to then access it and change the Project names.
-
Click Export (Excel) on the Right Hand Menu under Import/Export.
-
Check the Export Canvases box in the new menu.
-
Check the PROJECTS box under Select Canvases to Export.
-
Click Export at the bottom of the menu to download the Importing and Exporting Illustration.xlsx file.
-
Open your newly downloaded file.
-
Your first column will be "Box Name" (Column E), click on cell E5 to edit your first project name.
-
Edit the cell name to Project 1.
-
Continue to name each below, until Project 50.
tipYou can use the fill handle function, by clicking on your newly named Project A and dragging the bottom right corner to E20 (Project PK-16).
Stop and repeat this for the other projects, as demonstrated below. -
Save your workbook and then close it.

3.3. Import a Canvas
Now that you have successfully renamed your projects, we need to reimport the canvas workbook.
- Click the Import (Excel) button on the Right Hand Menu under Import/Export.
- Click on the box labelled Click or drag an Excel file to this area to upload.
- Select Importing and Exporting Illustration.xlsx from your files to upload.
- Check the Import Canvases boxes under the upload area.
- Click the Import button at the bottom of the menu.
- Click OK exit the menu and import your new changes.
Here is an interactive image to demonstrate these steps.
You can set multiple canvases to Import and Export, by turning multiple boxes into canvases and selecting them to export.
You can edit each one on an individual sheet in the same workbook before reimporting.
4. Import/Export to Excel
Our final type of Import and Export is a full Import and Export to Excel.
- This is useful when we want to modify the whole illustration at once.
- In our example, we will be using this function to:
- Replace the State WA with state SA.
- Update all projects that are assigned to the State WA to be the State SA.
4.1. Export to Excel
First, we need to export the entire illustration to excel. Here are the steps to do this:
- Click Export (Excel) on the Right Hand Menu under Import/Export.
- Check the Include Associations box in the newly appeared menu. This way we include States which are joined as Associations.
- Click Export at the bottom of the menu.
- This will trigger a download called Importing and Exporting Illustration.xlsx, open this file once it has finished downloading.
- You will see a Base sheet, this is the box type behind all visible boxes, switch to the Filter.State sheet.
- Replace the WA cell in Column E with SA.
- Click on the Projects sheet.
- Press
Control + F(Windows) orCommand + F(macOS) to open the Find and Replace menu. - Click the Replace tab at the top.
- Enter WA for the Find box, and SA for the Replace box.
- Click Replace All at the bottom of the menu.
- Click OK to close the replacements pop up.
- Close the Find and Replace menu.
- Save your workbook and close it.
Below is an interactive image guiding you through all these steps.

4.2 Import from Excel
Finally, we need to import our changes.
- Click the Import (Excel) button on the Right Hand Menu under Import/Export.
- Click on the box labelled Click or drag an Excel file to this area to upload.
- Select Importing and Exporting Illustration.xlsx from your files to upload.
- Check the Import Canvases boxes under the upload area.
- Click the Import button at the bottom of the menu.
- Click OK exit the menu and import your new changes.
Here is an interactive image visualising this process.
With that, you have successfully used all Enterprise Lens' in-built Import and Export to Excel features to format, enrich and tidy an illustration. Congratulations!