Importing a Lens
With the Lens Library, illustrators can import over 200 premade lenses, created based on practical real-world use cases. This guide will teach you how to import and setup a lens from the Lens Library.
| TABLE OF CONTENTS | |
|---|---|
| 1. Getting started | 2. Import the Lens |
| 3. Configure the Lens | 4. Create the Lens Menu |
| 5. Turn on the Lens |
1. Getting started
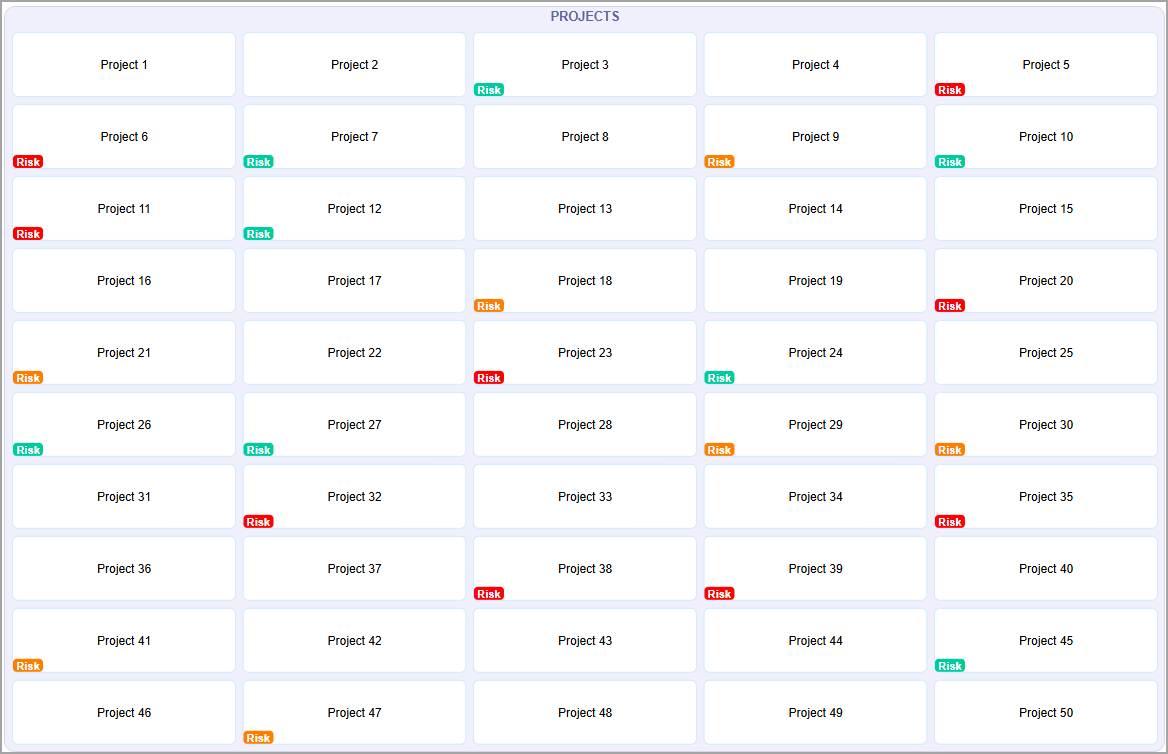
This illustration features a Risk lens, colour coded according to whether the Risk is:
- Low - a green box on the bottom left.
- Medium - an amber box on the bottom left.
- High - a red box on the bottom left.
In this guide, we will be using the same lens to teach you how to import a lens.
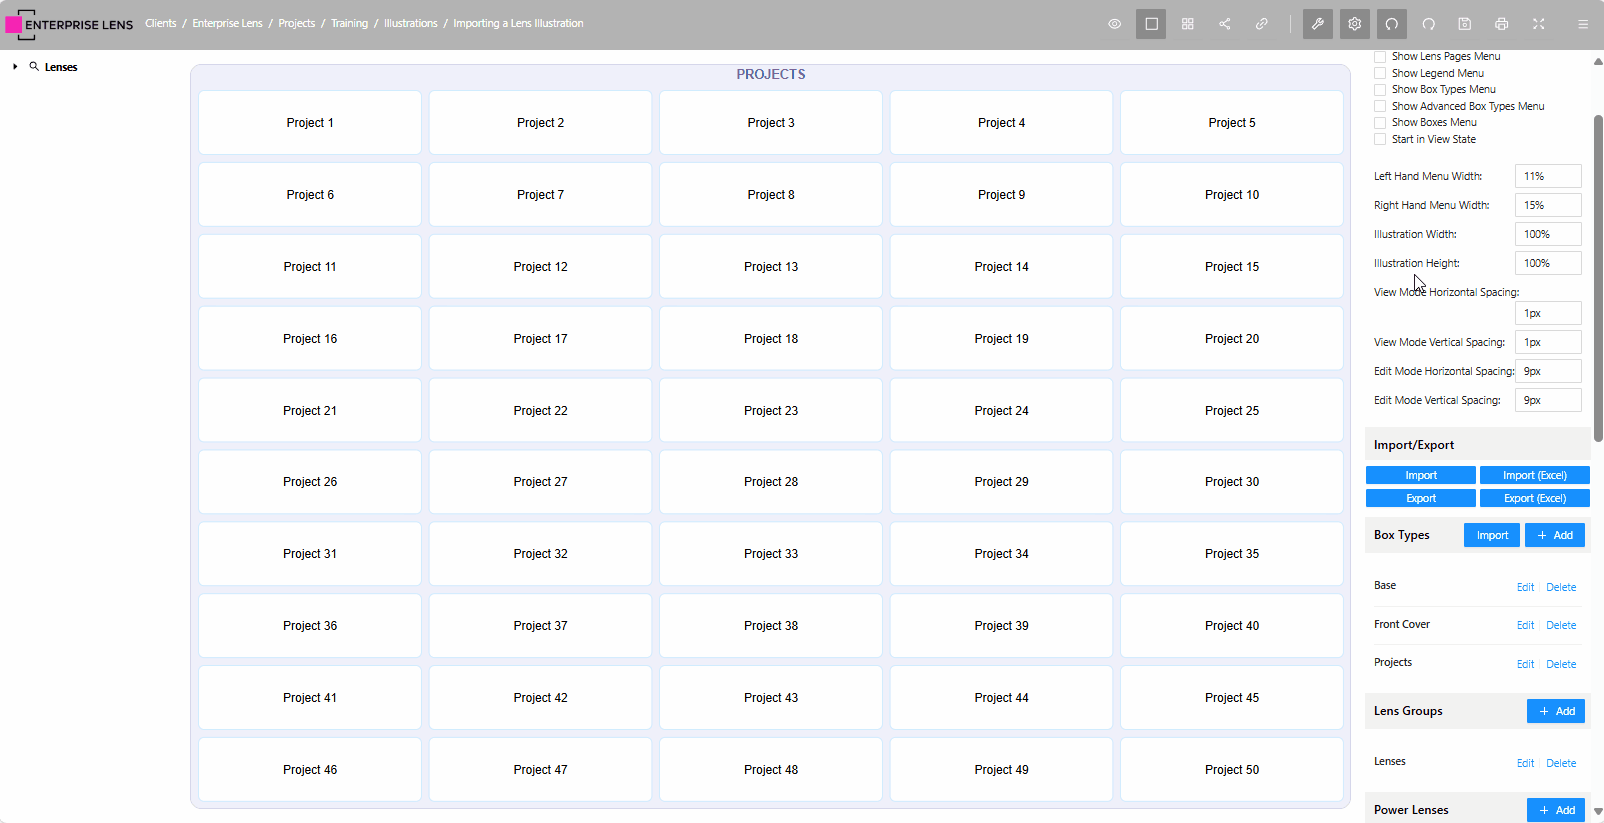
1.1. Open the Sample Illustration
To start, let's navigate to the Training illustration we will use for this guide.
- Log onto Enterprise Lens.
- Click on the Enterprise Lens folder.
- Click on Training folder.
- Finally, click on the Importing a Lens Illustration.
Included below is an interactive image to guide you step by step.
2. Import the Lens
To start, we need to import the Risk lens from the Lens Library. Here are the steps involved in doing this:
-
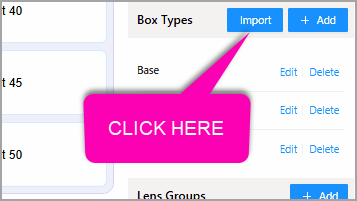
Find Import in the menu on the right-hand side, under Box Types, and click it.
-
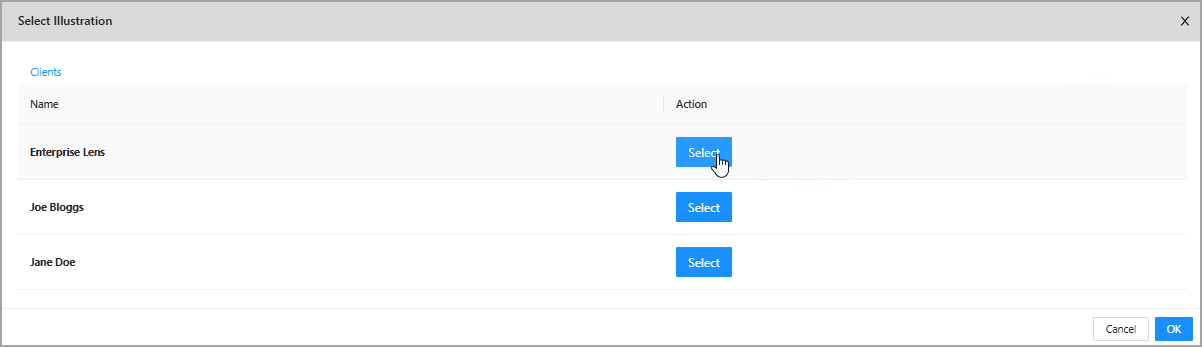
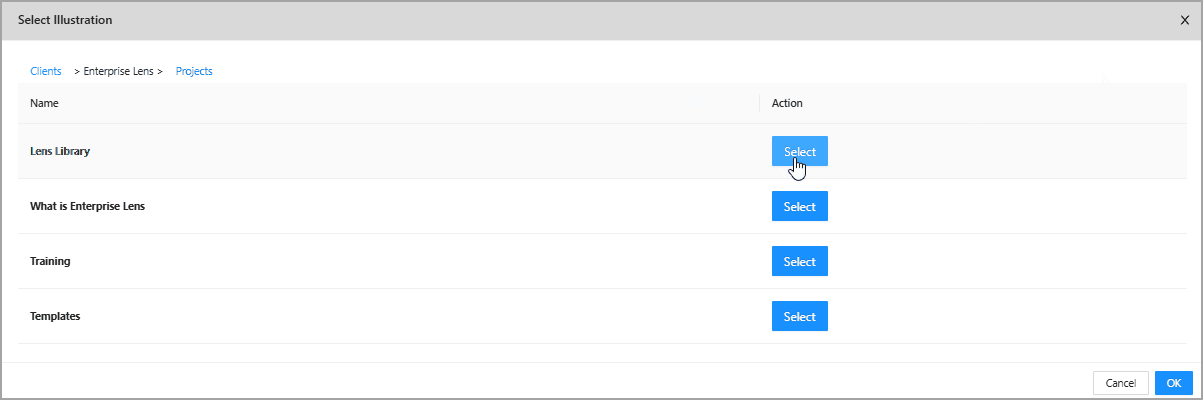
In the new menu, click Select Illustration.

-
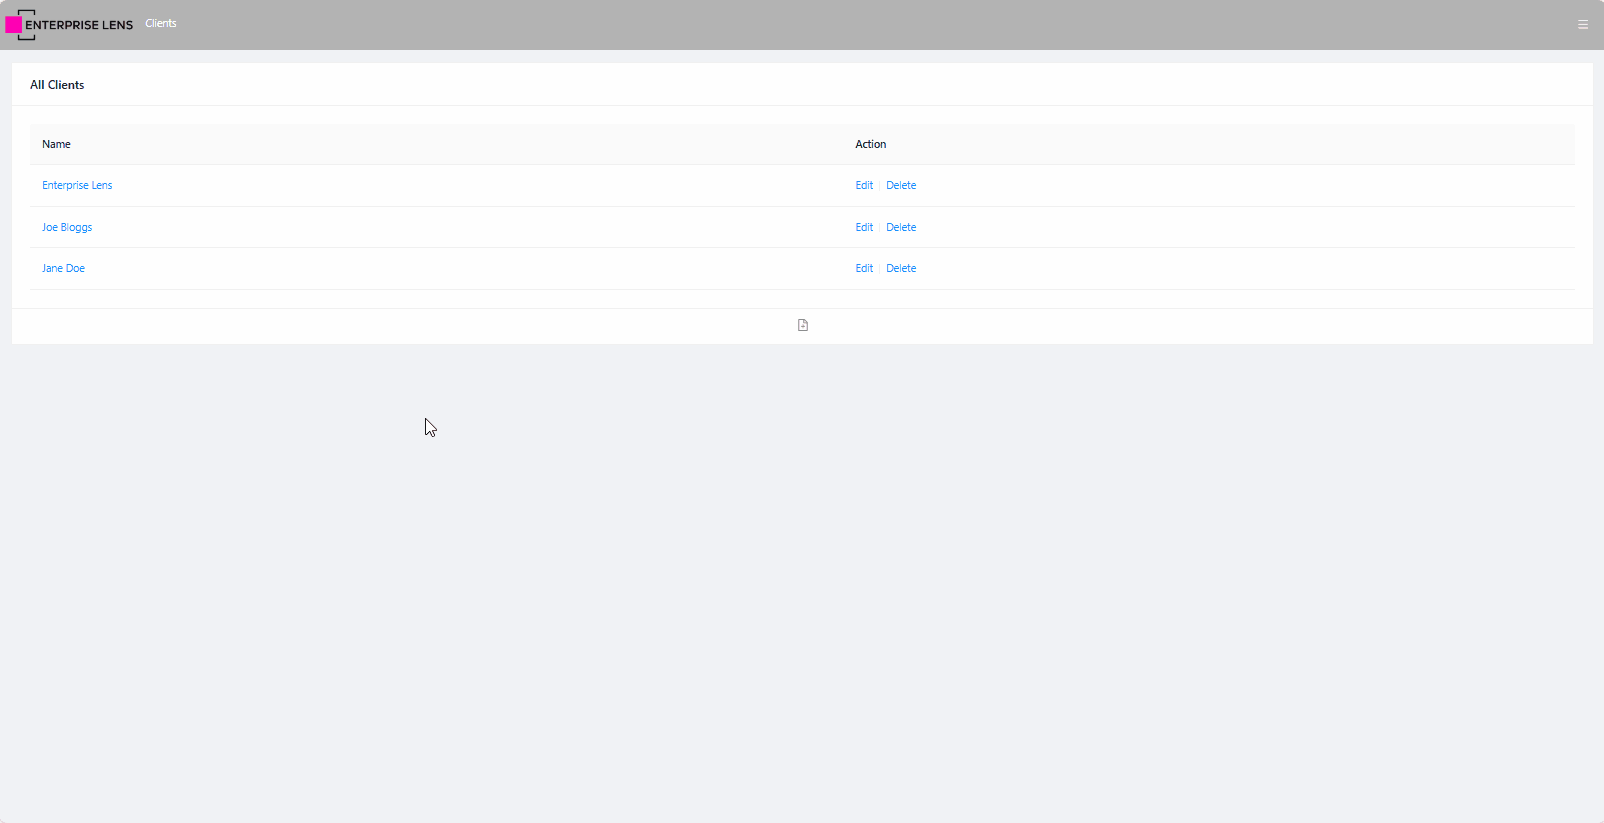
Click Select next to Enterprise Lens.
-
Next, click Select next to Lens Library.
-
Look for Lens Library 3.4, click Select, and then click OK at the bottom.

-
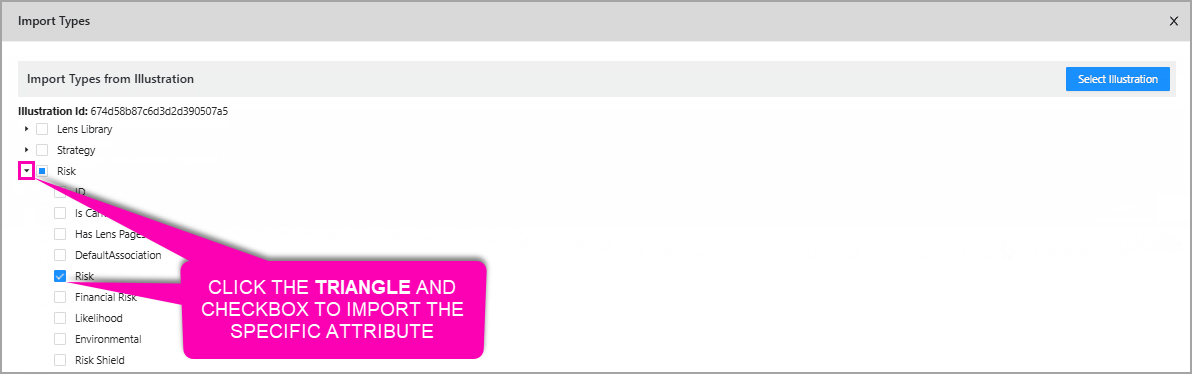
On the left, click the small triangle next to Risk to open it.
-
Tick the boxes for Risk.
-
Tick the box that says Merge Attributes Onto Existing Type(s)? at the bottom of the menu.
-
In the box labelled Please select, choose Projects.
-
Finally, click OK to save your changes.

An interactive image is provided below to walk you through these steps.
3. Configure the Lens
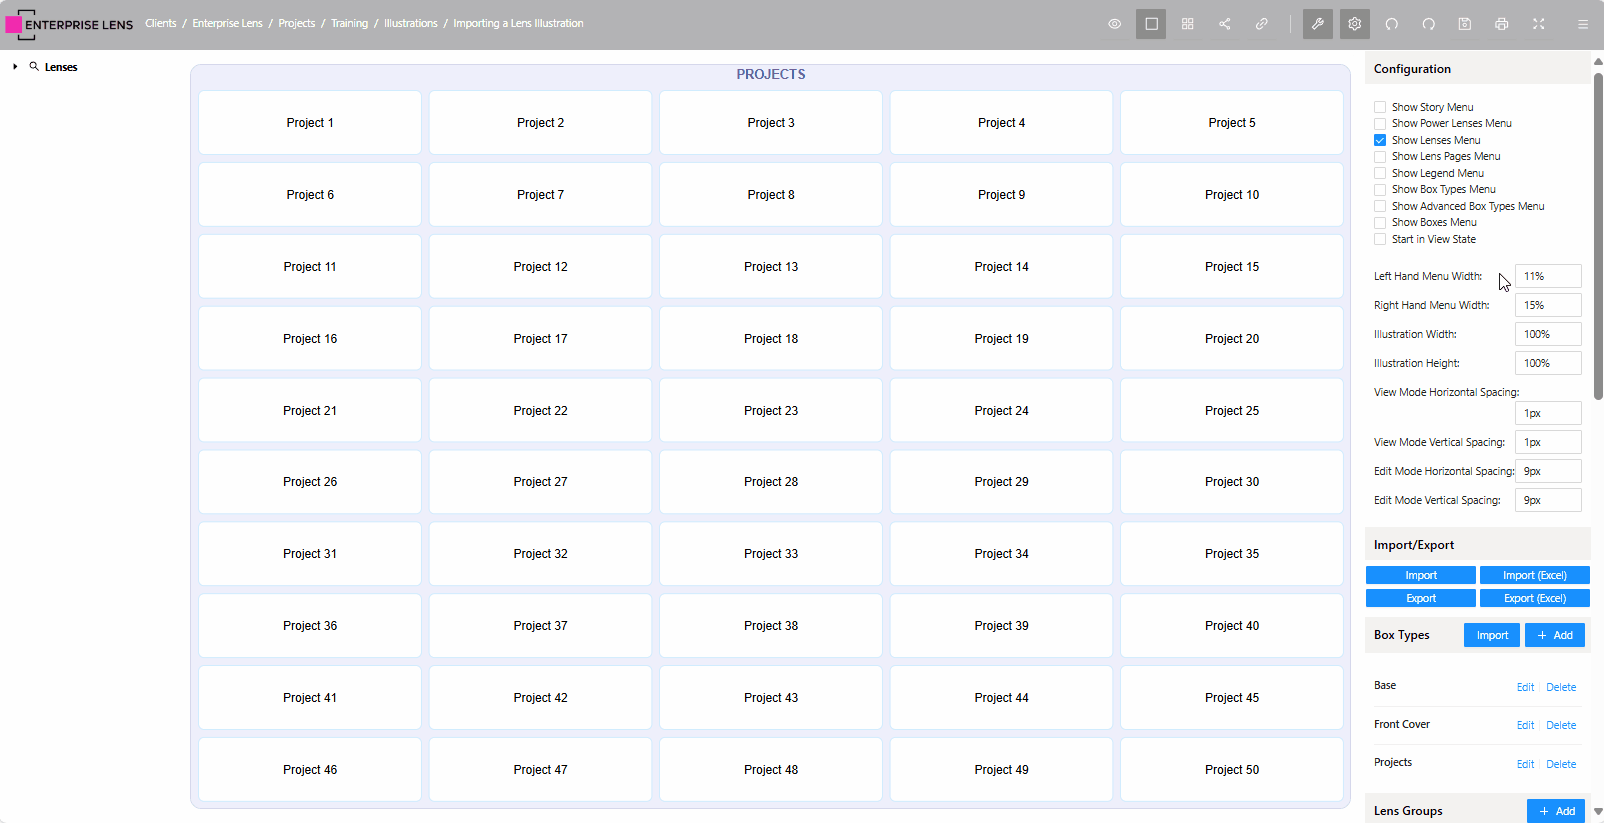
In the previous step, you imported Risk as a Lens. As a result, each Project has a Risk attribute. We will need to set some Projects to have risk values to display, here are the steps to achieve this.
- Click on Project 1.
- In the new menu, click the box next to Risk.
- Choose Low from the dropdown.
- Click OK at the bottom of the menu to save and exit.
- Repeat these steps for a few more boxes.
Below is an interactive image showing how to do these steps for a few Project boxes.
Above only a few boxes were demonstrated, however we encourage you to pick more boxes to practise these steps on.
4. Create the Lens Menu
Now you need to create a place to turn on and off the newly imported lens.
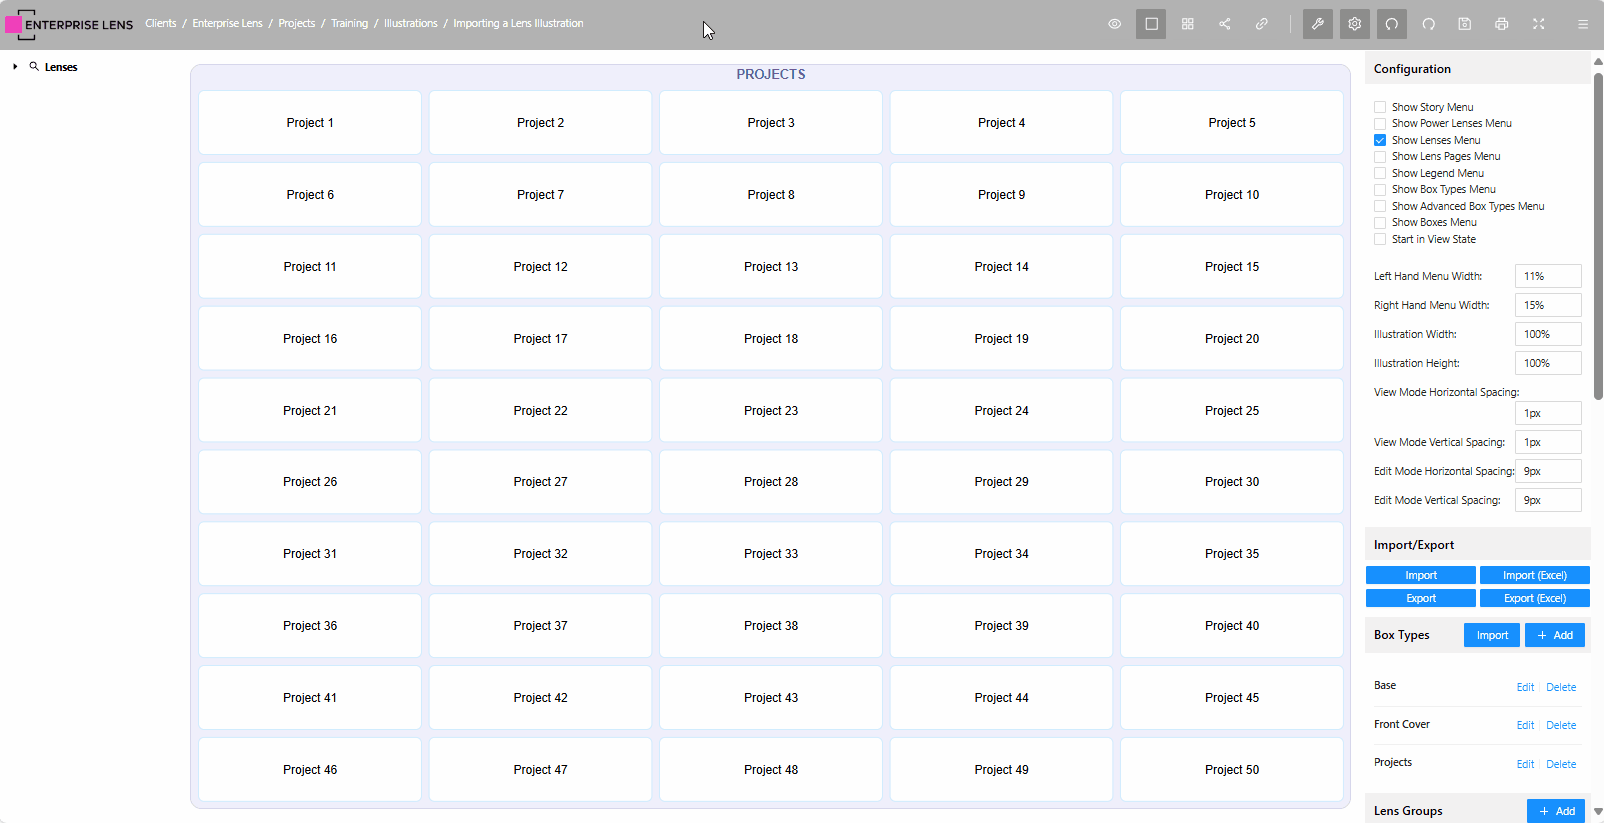
- Go to the Right-Hand Menu, find Lens Groups, and below it click Edit next to Lenses.
- Click the blue + Add button in the new menu shown on screen.
- In the box labelled Name, type Risk.
- On the left, click the little triangle next to Projects to expand it.
- Tick the box for Risk.
- Click OK at the bottom of the menu.
Below is another interactive image to guide you through these steps.
You may now save your changes by clicking OK on the menu to exit.
5. Turn on the Lens
All that's left is to see your lenses.
- In the Left-Hand Menu and click the small triangle next to🔎 Lenses to expand it.
- Then, click the small triangle in the new sub menu called Lenses.
- Tick the box next to Risk
You should now be able to see your newly imported Risk lens, as shown below!
With that, you have successfully imported and set up your first lens. Congratulations!